Table Saw
Nothing here is intended to take precedence over the directions set out in the manufacturer’s instructions, nor those safety set out by any ministry of education, ministry of labour, educational board, or legislative body. This is purely an amalgamation of resources to support education, but is not intended to be a definitive source for safety or procedure. For your own safety, refer to your respective legislation and overarching bodies regulating standards to ensure that you are following procedures which reflect the most recent and supported bodies of research.
Subject: Construction, Exploring Technology
Objective: Students will understand the foundational theory and applied concepts surrounding the safe use of the tool. These standards are to be cross-referenced with the OCTE Standards linked here, and confirmed with the documentation which is printed in the administration kept in the classroom itself. No student should operate any equipment without adhering to the standard operating procedures, shop safety rules, and all work, setup, maintenance, and other such shop activities must be done with the express foreknowledge and approval of the appropriate respective workshop teacher under supervision and during shop hours.
FOR OFFICIAL STANDARDS OF REFERENCE PLEASE LOOK TO THIS LINK BEFORE CONTINUING


INTRODUCTION
Though they can be very versatile tools, table saws are basic machines used in a variety of contexts - from garage tasks, to jobsites and custom woodshops, as well as by the full spectrum of experience from DIY through to seasoned custom cabinetry carpenters. Some have adaptable stands with wheels to facilitate their movement, and others have more permanent fixtures, with fixed in and outfeed tables, extended support options, sleds, reinforced fences, and countless other accessories/options. While they are mostly associated with ripping wood (cutting along the length of the grain) and cutting it to length, when set up properly, or enabled with accessories they often have options to support tapers, chamfers, bevels, and can produce rabbets, dados, grooves and many other basic joints. Generally the main requirement for materials is that they have one flat face for contact with the table itself, and one straight edge to guide it along the fence. If you’re ever uncertain on how to use this (or any) tool, safely stop what you’re doing and notify the instructor immediately.
Student Safety Passport Tool Components List
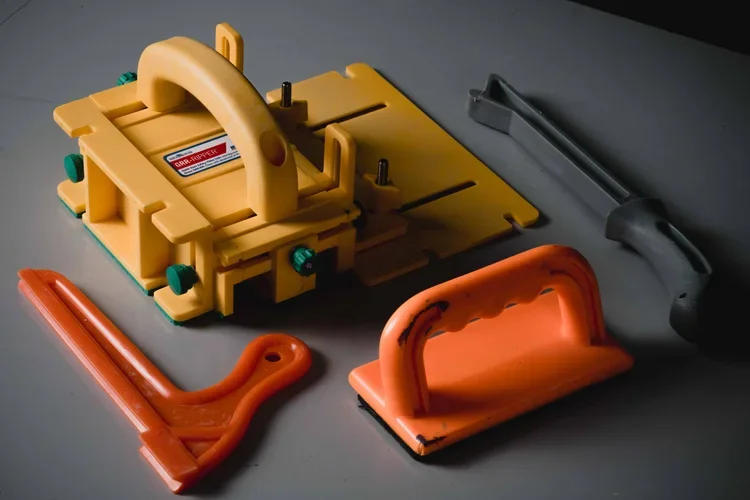
For your understanding (and for your safety passport test) the main components you will be introduced to during your instruction are as follows:
This list and these images do not reflect our exact model, nor do they showcase a number of the elements we commonly use alongside it. Ours has two sliding fences and slots for the vise assembly to switch to either side; We also have table feed space on our work station to accommodate larger materials, support accessories for particularly large material, and key elements such as our pointer are located in other positions. Please refer to this as a general reference, but where differences are noticed ask the instructor to detail the tool’s safest operational procedures so that you can be as safe as is possible.
While there are many other components, these are the main ones you will be expected to have a familiarity with in order to pass your student safety passport assessment demonstration. Materials should be secured properly to the table, with appropriate clamping to deliver an effective amount of pressure, in such a manner that neither the project material nor the clamps in any way impede your access to critical elements, nor cause the tool to operate in a manner it was not designed to. All personal protective equipment is a must, and you must use it at all times.
Though we often work in teams, the compound mitre saw is to be treated as a one-person tool. Any support from others during steps like setup and removing materials must be done under the direct approval of the instructor; However, only the operator and the instructor will be within the tool area when it is active - and you must always have the instructor present while operating this tool. Operating the tool while talking with others, or allowing others to be within the operational area, is not permitted. Materials may be bumped, come loose, or otherwise injure the operator or others if they are too close, so kindly remember that your attention needs to be at all times on the tool, the material, situational awareness of your environment and your safe operation within the shop. Also remember that tools with prominent spinning blade elements like this represent a hazard for not just limbs and digits, but also loose articles or hair, so do not allow anyone else near the tool while it is being operated as it can pose an extreme hazard. For full detailed understanding of your expectations, please refer to the shop rules in the classroom online workspace, the OCTE site, the board site, your course outlines, or the linked documents at the bottom of the page.
VIDEO RESOURCES
Here are some videos on table saws for you to learn from or review. They are here to support your understanding, but not to prepare you for your student safety passports. As these are not OCTE videos, you should refer back to your instruction in class, the OCTE-approved guidelines and instructional materials linked at the bottom of the page, or speak to your teacher if you have any questions.
A table saw instructional video developed by the Power Tool Institute.
A table saw instructional video for older and non-modular guarded table saws developed by the Power Tool Institute.
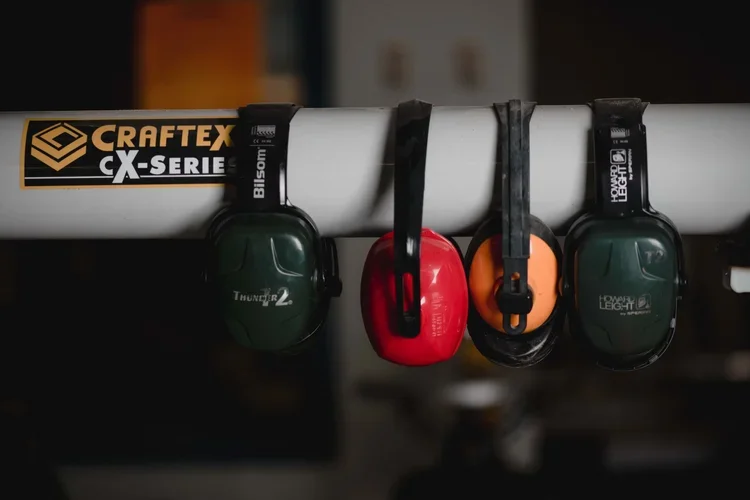
The advanced mitre saw techniques shown in the videos are NOT to be applied in our shop without specific training and instructor approval, they are not shared here to establish procedure, but rather they are here to showcase the capabilities of the tool in action. Kindly remember that at all times you are expected to have PPE on when the tool is in use, specifically the protective eye wear made available to you on the wall. The table saw is one of the most dangerous tools in a shop. Please don’t rush past that previous sentence, I can’t say that clearly enough: THE TABLE SAW IS ONE OF THE MOST DANGEROUS TOOLS IN A SHOP.
Mitre Saw Safety
A Mitre Saw safety video developed by the Power Tool Institute. Though they do not use the same model we have in our shop, nor follow the same operational procedures, the safety concepts are universally applicable.
Unlike scroll saws, sliding compound mitre saws present an incredible risk if general safety operating procedures are not followed exactly. Nothing in this or any of the materials on this page is intended to replace the manufacturer’s instructions. This video is a bit older, and explores features and operating procedures which do not always follow what we have set out in our instruction - DO NOT USE THIS VIDEO AS AN INSTRUCTION IN PROCEDURE, REFER TO YOUR INSTRUCTOR’S DIRECTION AND LESSON DEVELOPED OCTE-APPROVED MATERIALS FOR ALL PROCEDURAL PROCESSES! Take a look at the video here exclusively to consider the safety concepts and to see demonstrations as to why we follow the procedures we do, as it showcases the risks of many mistakes in form or approach. If in doubt of anything at any time, stop working, safely shut off the machine, and ask your instructor.
Class Safety for the Sliding Compound Mitre Saw
Seek teacher’s permission before using the machine, ensure that the project itself has been approved, and that you have satisfied the required tool qualifications on your student safety passport
Never operate any machine while under the influence of medicine, drugs, or alcohol, if you are fatigued, or otherwise emotionally/psychologically impaired. If you have any uncertainty about your ability to operate a tool or piece of equipment safely, immediately bring this to the attention of your instructor
Use appropriate PPE (eyewear, ear protection, gloves, etc.), ensure that jewelry is removed, and that loose/long hair, as well as articles of clothing are tied back or otherwise secured or removed
Inspect the material being cut for foreign materials, damage, or potential quality/grain issues (Consider staples in the ends, rocks from the ground of a lumber yard, straps, nails, etc.). All material must have one face surfaced and one edge jointed prior to being cut on the table saw
Ensure the blade is securely installed, and the correct one for the job, and also be certain that you have the correct table inserts and throat plates for the blade installed
Inspect and use the guard(s) appropriately every time, as well as the dust collection system
Make sure to adhere to a 6” distance in keeping your hands clear of the blade - even when the machine is not active. Adjustments to the blade itself (aside from those done to the height and bevel through the height adjustment and arbor tilt wheels below the table) are to be done by the teacher or a board-approved professional ONLY
Adjust the blade to extend 1/8-1/4” above the stock to ensure optimal angle of entry
Stand to the side of the blade - not directly in its path, never reach across the blade, and use the proper accessories as demonstrated (push stick/block)
Inspect work area for cleanliness (consider debris under the table where you might step while moving the material, the table itself, and along any recesses or grooves)
Every cut is to rely on the fence or miter gauge to control the stock, and at no time are you to cut any material free hand
SEE FURTHER SAFETY DIRECTIONS IN THE LINKED SUPPORTING RESOURCES MATERIALS AT BOTTOM OF THE PAGE
Supporting Resources
Tool Specific:
OCTE Table Saw Resources
OCTE Table Saw Materials
Broader Supporting Resources:
OCTE Health and Safety
OCTE SAFEdocs
OCTE Tech Ed Health and Safety Rules
All supporting resources and much of the content are drawn directly from guidelines, standards, and materials on the OCTE pages; they are simply linked here for learner reference, and ease of instruction, however neither this page, nor the other materials represent OCTE. The other resources such as YouTube links, are included for learner refreshers.